


Salesforce Path
- Salesforce path is a visualisation tool, used on objects, to help guide users along a Path to a final destination.
- It provides 5 key fields and a Guidance for Success for each section under the Path stages to provide the guidance to users.
Objects that are support salesforce path
- Accounts (business accounts and person accounts)
- Assets
- Campaigns
- Cases
- Contacts
- Contracts
- Fulfilment order
- Leads
- Opportunities
- Orders
- Product service campaigns
- Product service campaign items
- Quotes
- Service appointments
- Service contracts
- Work orders
- Work order line items
- Custom objects
Let’s create a path
1. Enable the path
- In a setup, type “Path” in the quick find box.
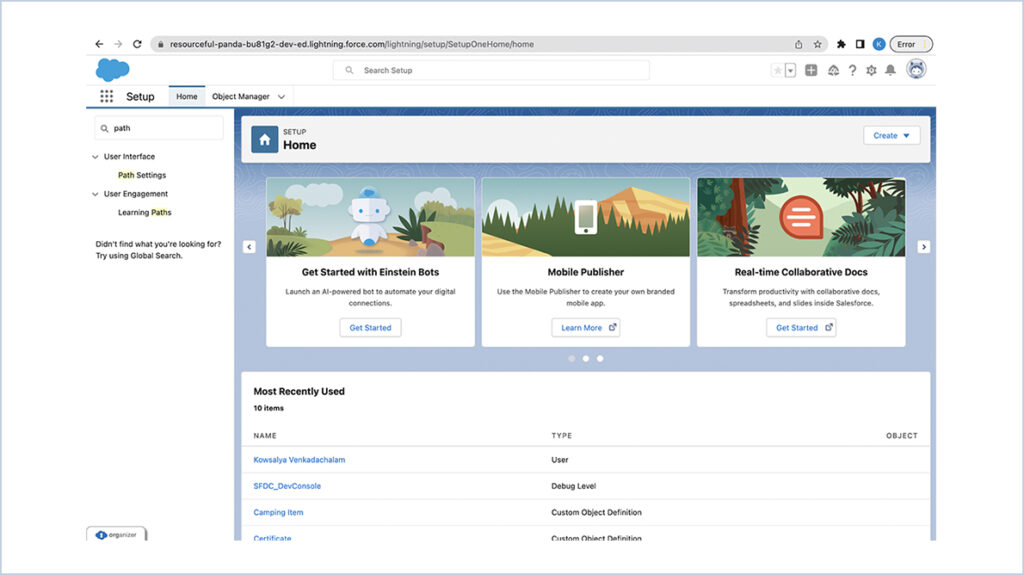
- Then click on the Enable button.
2. Remember user’s Path preferences
- The Remember user’s Path preferences checkbox, which lets users choose whether the path retains its prior state, is visible in that.

3. Create the path
- Click the New Path button to start the path. When you click the button, the following screenshot appears.
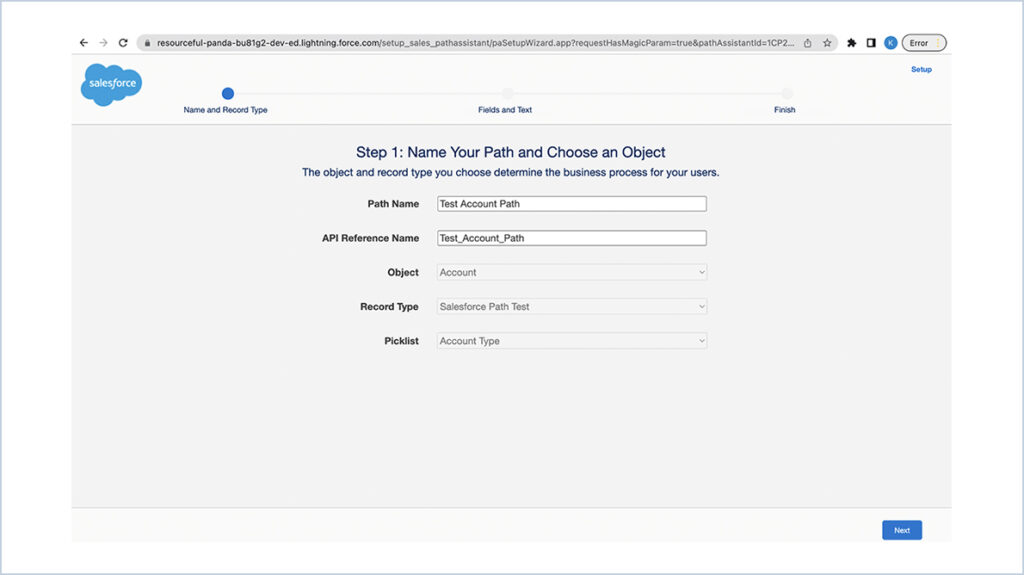
- Enter a name on Path Name, the API Reference Name will be generated automatically.
- Pick a record type that must be created along with a required object.
- Choose which Picklist from the Record Type will be applied to the Path
- Select Next on the bottom right to proceed.
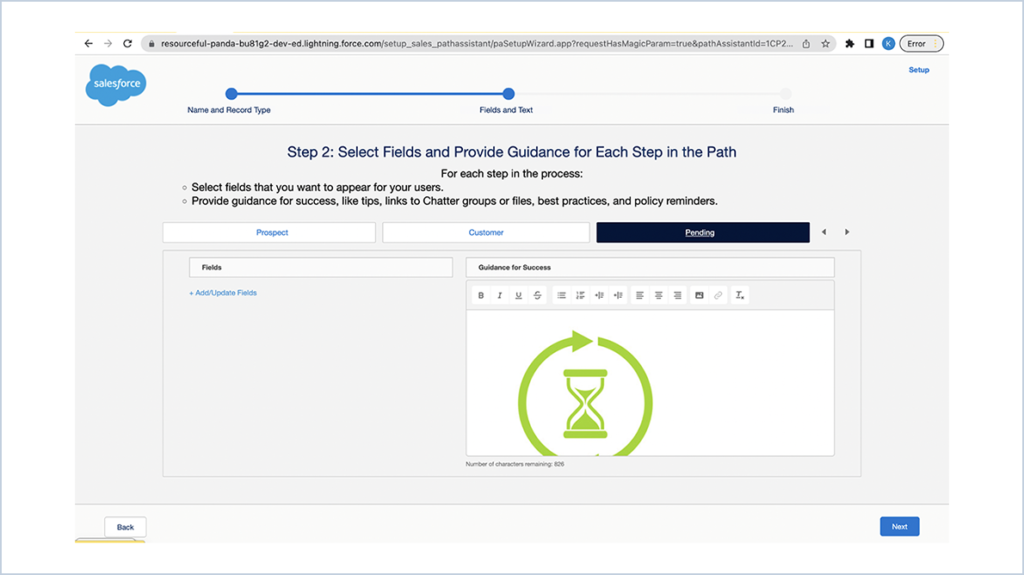
4. Key Fields
- You can choose which fields to show on each stage.
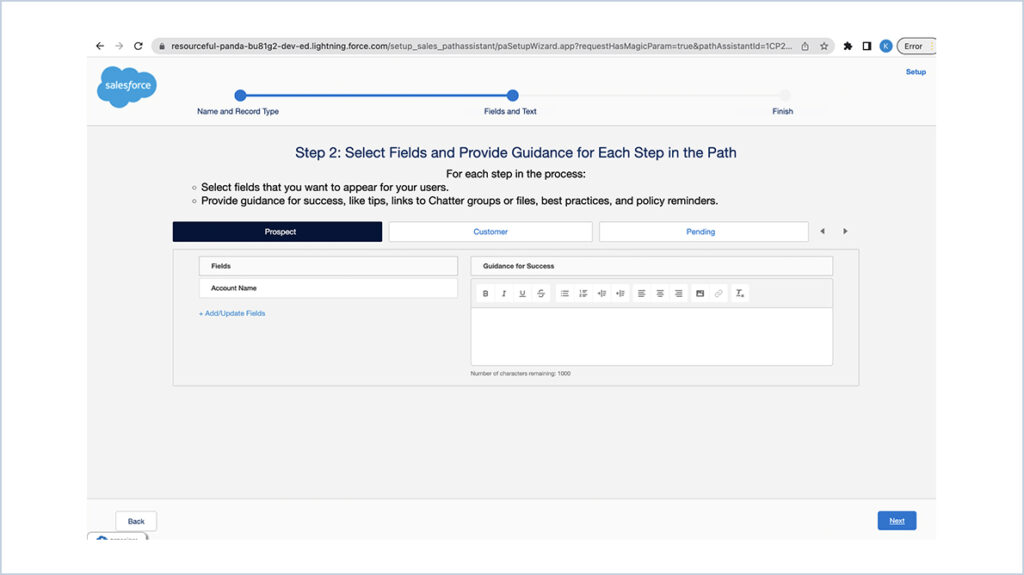
Note: Key Fields only reflect those fields which are available in the Record Type selected.
5. Guidance for success
- You can provide the users some advice or a remark in the “guide for success” section.
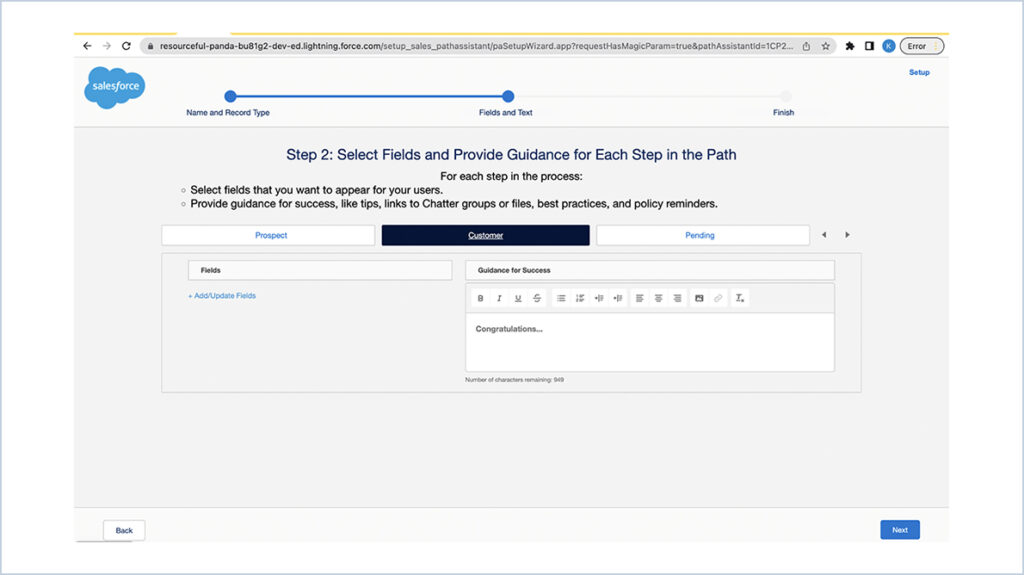
- Additionally, you may include a link to a file that Salesforce allows you to share as well as an image.
- This may be useful if a document needs to be shared with the user/client at the selected stage.
- Click next to go to the following stage after providing the instructions.
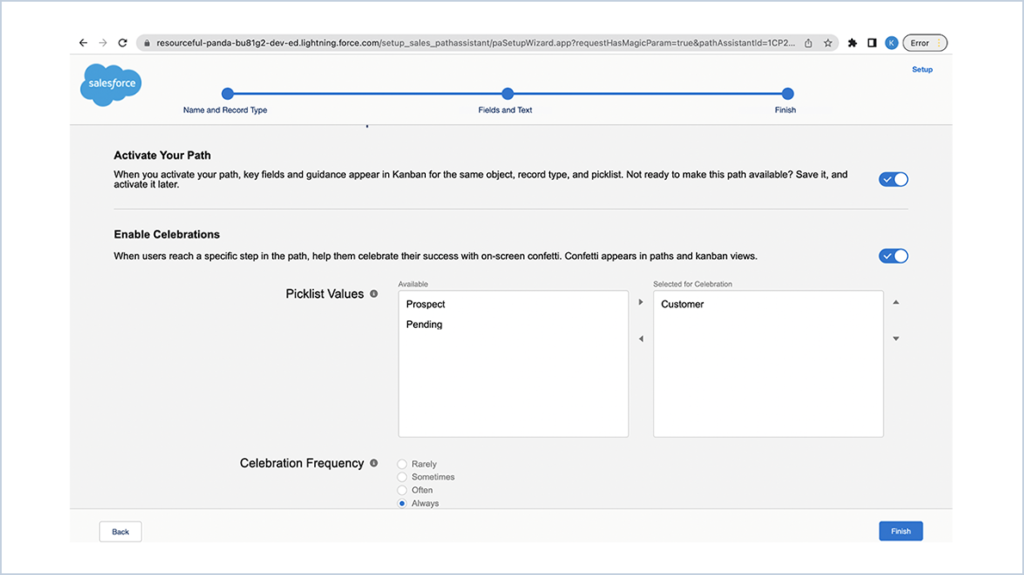
6. Activate the path
- You can enable a fun confetti anime to any level you like on this stage.
- And also you can control the celebration frequency here.
- Click finish to complete your path.
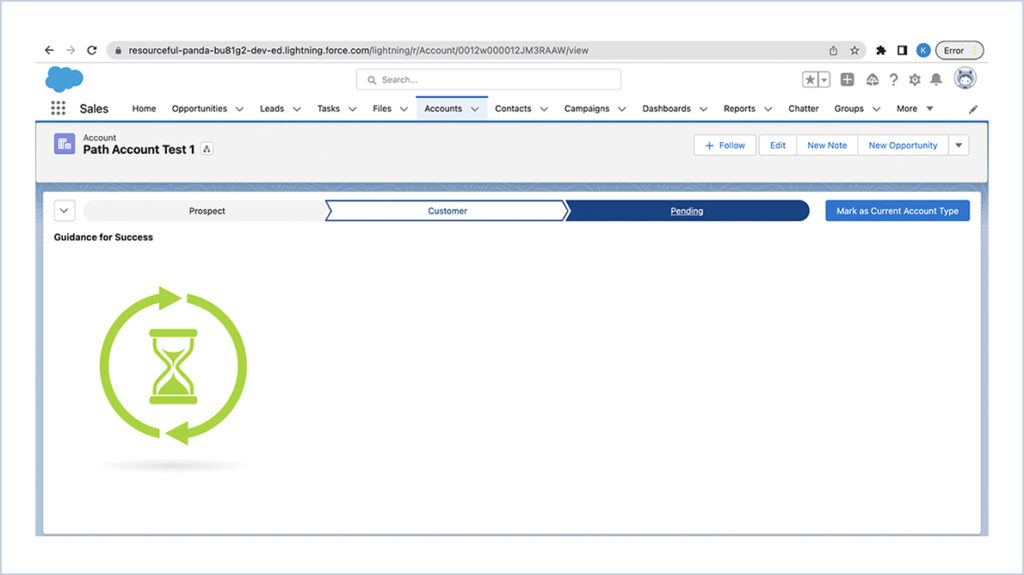
Output
Key fields

Guidance section
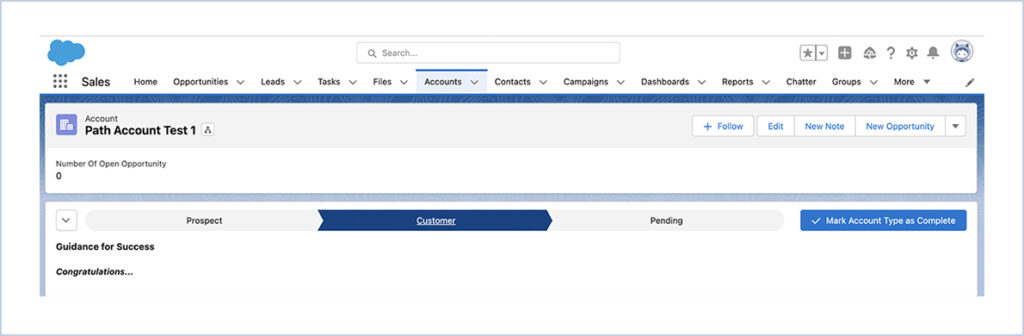
Fun confetti animation