Introduction:
We can insert the bulk record information into the Salesforce objects. We have external tools and Salesforce standard features are available.
In this blog, we can see the “Workbench” tool. It is a frequently used tool for data manipulation works.
Steps to insert the bulk records into the Salesforce Account object:
Step 1:
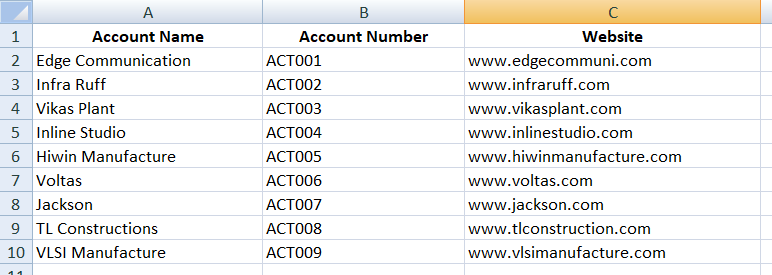
Prepare the datasheet with the matched account object column.
For example., the following CSV file has the Account Name, Account Number and Website information to insert the bulk record into the Salesforce Account object.
Step 2:
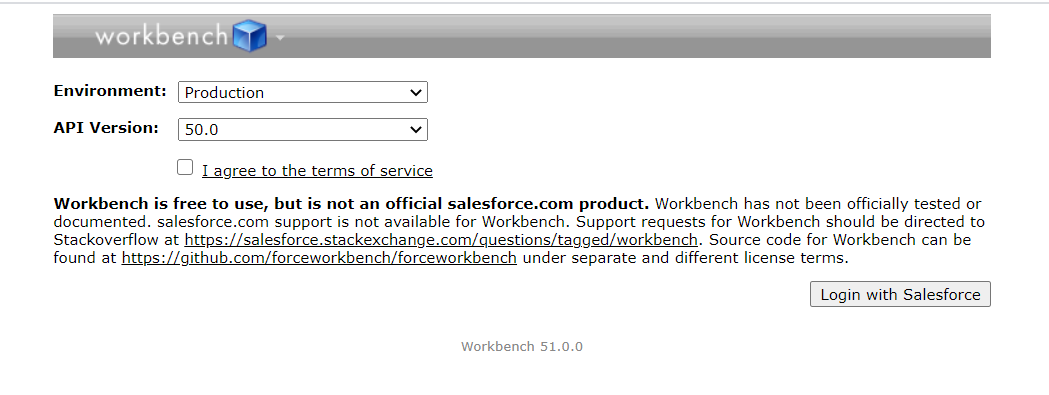
We can log in to the “Workbench” developer tool https://workbench.developerforce.com/
Select the “Environment” to insert the data either Production or Sandbox then check the “I agree to the terms of service” and “Login with Salesforce”
Step 3:
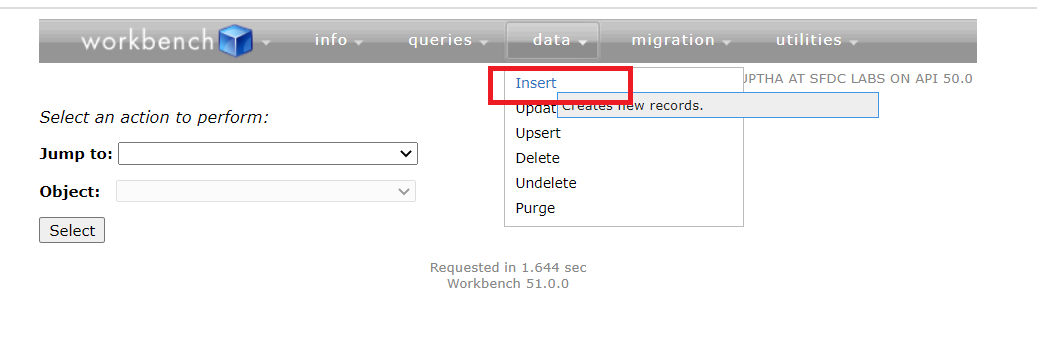
Once you login to the “Workbench” tool, Select the “Insert” options from the “Data” tab.
Step 4:
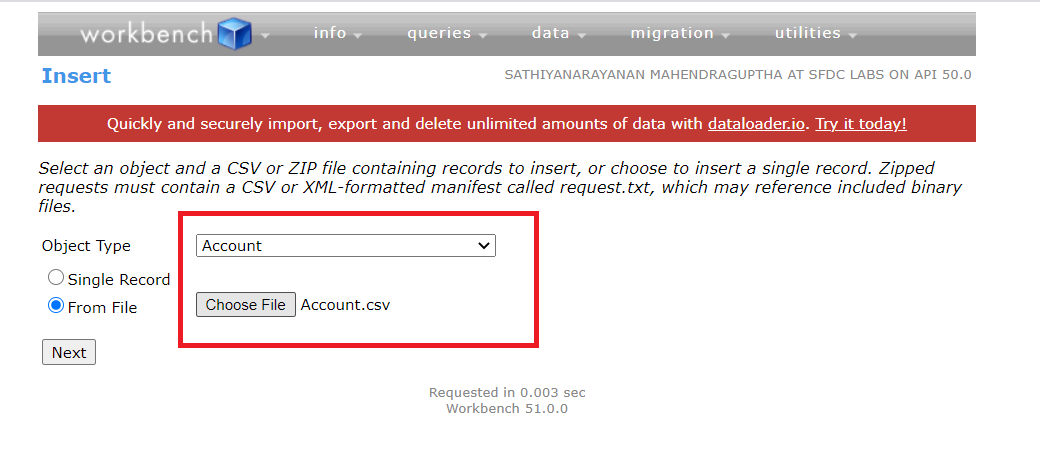
Select the object type as “Account” and choose the “Datasheet” (Please make sure the datasheet should be a CSV file format), then select “Next”.
Step 5:
Map the Salesforce account object fields and datasheet column fields, then select the “Map Fields” button and select “Confirm Insert”.
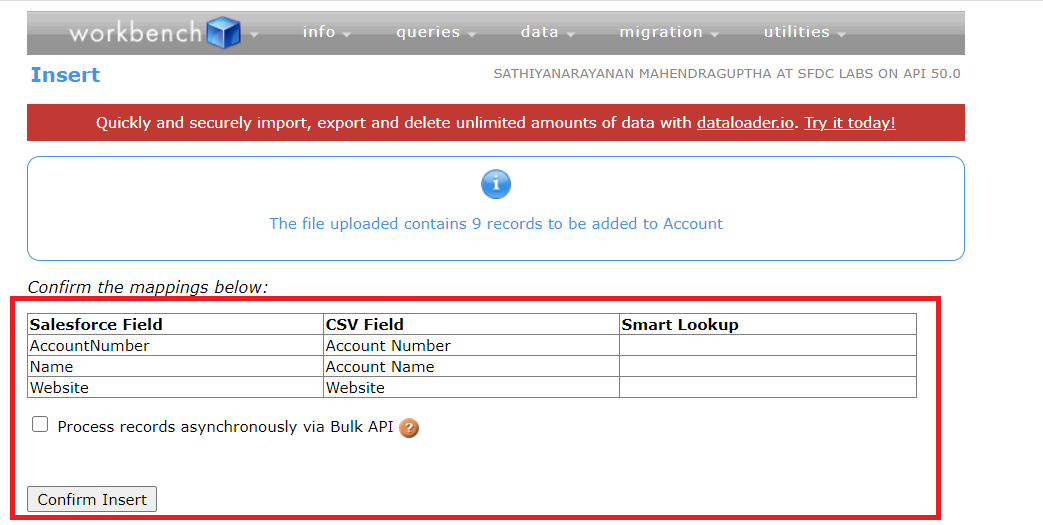
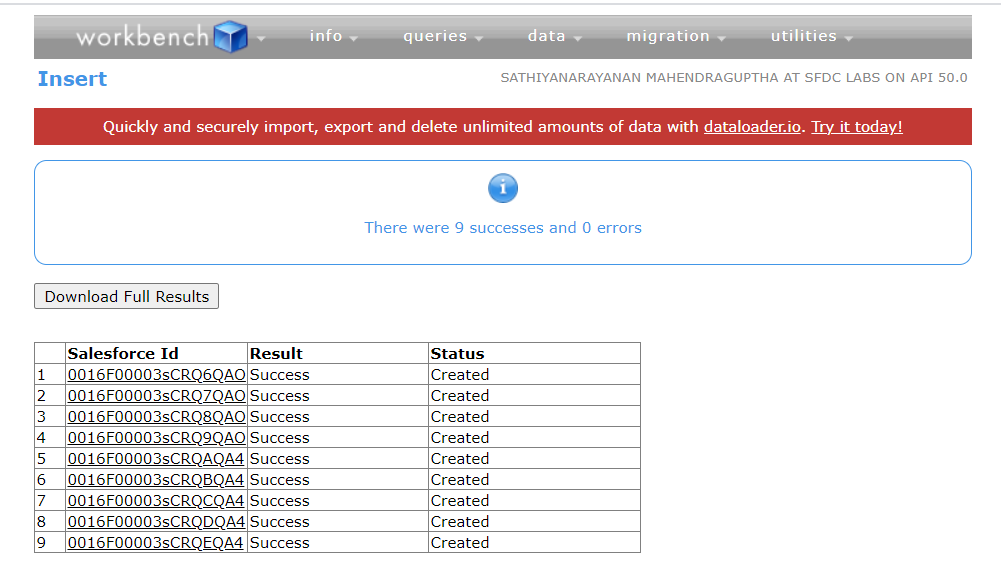
Finally, we have inserted the data’s into the Salesforce Account object.
Note: Please add the data column on the datasheet, if you make any fields are required on the account object.






 .
.